

October 3, 2012
Fall Recipe Card
I love baking in the autumn, and after I gorge myself I love taking those baked goods to friends. This is a simple, autumn-y recipe card I made to attach to my next baked good delivery:
 Feel free to copy and paste a few to a Word doc. and print them on some card stock...and then email me the recipe of whatever delicious treat you are whipping up (hopefully something that involves pumpkin and chocolate)!


October 2, 2012
Spinach-Topped Tilapia Recipe
Spinach-Topped Tilapia

Really, this would probably be good on any kind of fish, but tilapia is cheap and still tasted great.
Ingredients:
1 tsp olive oil
½ cup onion, diced
2 cloves of garlic, minced
5 oz baby spinach
½ Tbsp fat free cream cheese
1 tsp basil
Salt and Pepper (to taste)
Garlic powder
Shredded Parmesan
- Preheat oven to 400 degrees
- Season fish with a little salt, pepper, and garlic powder. Place on baking sheet lined with parchment paper.
- Saute onion in olive oil until soft, then add garlic and cook for another minute.
- Add spinach and cook until completely wilted. Remove from heat.
- Add basil, salt and pepper. Stir in the cream cheese.
- Spoon mixture onto tops of tilapia and sprinkle with Parmesan
- Bake for 15 minutes or until fish flakes off easily
And while we're talking about recipes, I'm just going to send you right to this Balsamic Nectarine Pizza recipe. YUM!

September 29, 2012
Fabric Silhouette Tutorial
.JPG)
I made these silhouettes of the kids using a window frame I got at a garage sale.
The window thing worked out really well since I have four children, one for each panel.
Here's how:
First take a profile picture, enlarge it to the size you want, and print it.
First take a profile picture, enlarge it to the size you want, and print it.

.JPG)
Iron that to the wrong side of your fabric.
.JPG)
Cut out the image.
.JPG)
Peel off the Heat n Bond paper and iron onto background fabric. I used a solid for the boys and a patterned material for the girls.
.JPG)
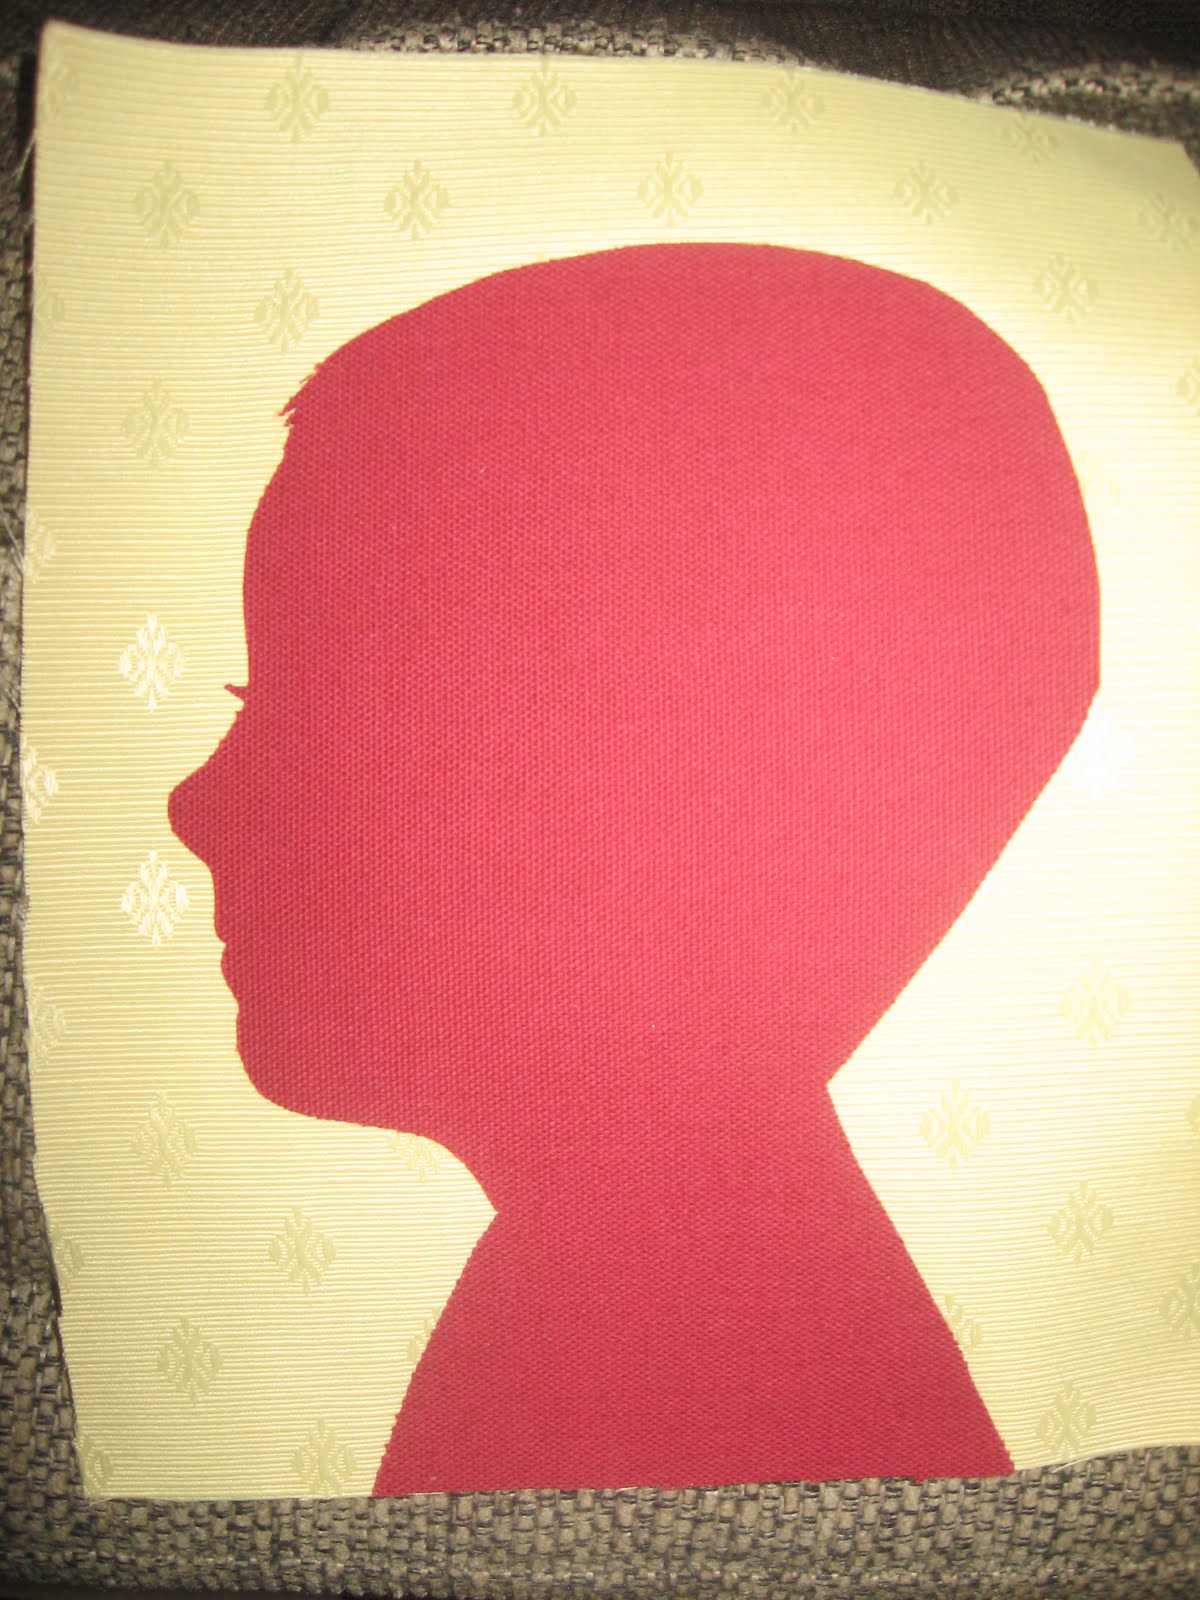
Frame it. I used spray adhesive to stick the fabric in each panel, then I hot glued trim around the edges.
.JPG)

I paid $1.50 for the window frame, and $2 for the trim.
I had the other fabric and Heat n Bond already, so it was an inexpensive and fun project!
September 27, 2012
Conference Bingo Printable and V.T. Goodies
It's almost conference time! And what is conference without a giant bag of Wonka candy and Conference Bingo? I designed these little bingo cards for the kids in my primary class. I wanted to keep them simple and bright to help kids get excited and maybe pay attention for 15 minutes.
You can download some for yourself (there are two per page), print, cut them out, and stick to some card stock. Use M&Ms, dry beans, etc for kids to mark every time they hear a word or topic. Four in a row gets a treat!


I also finally finished making these little goodie bags for the girls I visit teach. I'm going to include a bingo card in one for a girl who has a little boy.

I found cheap brown bags at JoAnn's and used a stencil to write "Conference Care Kit" (I couldn't think of a better title...) and added some cutesy details, because it just wouldn't be a church handout without some "embellishment". I threw in a journal, pen, candy, popcorn (forgot to photograph) and tissues. I've seen some other great corny ideas, but those were the things I could find. Be creative, make them for Young Women or Primary kids, add cheesy sayings to go with each item, etc.
September 23, 2012
DIY Dress Pattern: Using Shapes

1. Find your inspiration and take it to the fabric store. For me, it came from a pin on my style-wise niece's Pinterst board, originally from look.co.uk: Reiss Embroidered Dress, retails for around $300

2. Those kindergarten years are about to pay off, because constructing a pattern really comes down to finding the basic shapes within your inspiration.
2a. Let's start with the top (front-view). Most tops are basically a rectangle with darts (triangles) at the base and a neckline (here, a semi-oval) cut into it at the top. You will also note slight semi-ovals cut away for the armholes and a small triangle cutaway at the shoulders:

You would cut one of these out of the sheer fabric, or cut the pattern in half and cut one on the fold out of sheer fabric. For a more modest look, I cut one out of sheer fabric (teal) and one out of lining fabric (white). **Top (back-view): Follow the same shapes and directions, adjusting the deepness of the neck-back to your liking and using only the inner dart. For both views, be sure to mark your darts before cutting!


2b. Now let's look at the lace overlay. It is similar to the top, a rectangle with darts (triangles), but shorter which means no neckline and no armholes.


For this, cut one out of lace and one out of lining. (*I already cut my lining in step 2a, so another cut of lining here is not needed.) Again, the back view uses the same shapes and directions, with the exception of using only the inner dart.
2c. Cap Sleeves: Sleeves come in all shapes and sizes, but for cap sleeves, as pictured here, you basically have a top-rounded triangle that forms both the front and the back of the sleeve (it is all one piece). Cut two of sheer fabric. *Again, I chose a more modest look and cut 2 of sheer and 2 of lining.

2d. The Midriff: The front midriff is a bowed rectangle while the two back midriff pieces are smaller, normal rectangles. Cut one front of sheer and one front of lining; cut 2 back of sheer and 2 back of lining.

2e. The Skirt: My favorite part! The skirt lining and the skirt overlay are 2 different shapes. The skirt lining is your basic trapezoid with a slightly bowed base. Cut 2 of lining.


For the actual construction of the dress, I will create a different post, coming soon. Be Brave! You can do it!


September 20, 2012
Monogram Pillows
For Christmas last year, my sister-in-law made us this gorgeous, scallopy, bedspread. I'm not really one to have 20 decorative pillows on my bed, but I wanted just a few simple ones that wouldn't distract/compete with the bedspread. So I found some pastel fabrics (ok the middle one ended up being more neon, but whatevs) and made one typical square pillow with aqua binding + 2 pale pink with our first initials on them.
Now, there are probably a million better ways of making these since I kinda just improvised and was wayyy too skimpy on the stuffing, but I still like the idea. Basically all I did was trace the letters onto my fabric before sewing and then filled them in with a fabric marker.


September 15, 2012
Party Ideas/Washi Tape Decor
I had to come up with some decorations for James' baptism lunch, so I decided to use the washi tape my friend gave me for my birthday. Washi tape comes in various patterns and colors- so fun! 

I folded the tape in half all along some string, then cut points in the ends to create these banners. I found free printable letters online, and taped those to the string as well. For the striped backdrop, I bought a yard of material, folded the edges under as I pinned it to the wall with push pins. Today I used that same fabric to make a car seat canopy (2 birds with one stone).

We needed centerpieces for the tables, so I made these easy "8"s out of printable circles, a wooden skewer,

and these styrofoam rounds, which were 2/$1 at Dollar Tree!

I just wrapped washi tape around the styrofoam to dress it up a bit. The width was perfect! There are so many free printables out there that could be used with this idea.

I also created some subway art with the baptism info, stuck it in a $1.50 frame from wall mart, and displayed it on the serving table. Pic Monkey is a great site for this, because they have fun fonts and you can rotate the words, etc.

Subscribe to:
Posts (Atom)