Showing posts with label decor. Show all posts

January 17, 2014

Twin Girls' DIY Nursery


Hi there! Had some babies a little bit ago... 4 months ago. I started working on their nursery before they were born, but am just now finishing.  Probably because I had to make almost every decoration and/or collect used items. Oh and because twin newborns sort of take up a lot of time. Who knew?!

It started with finding these cute fabrics at SAS which were inspiration for a woodland creatures plus florals theme and took off from there. I am NOT a decorator and wish I could just pay someone to come decorate my whole house, but I had fun putting it all together and a pretty happy with how it turned out.

Pillow covers made with fabric remnants, glider from Craigslist 

Cute quilt EmmaLee made, hand-me-down crib, blanket crocheted by my aunt

This saying popped into my head when I was thinking about twins and I had to use it! I watercolored these little signs, mounted them on floral fabric and threw them in cheap Ikea frames. Blessing dresses crocheted by my mom.

Branch from our yard on Ikea hooks + a paper flower garland I made

Big paper flowers are by Bethany and I, Ikea spice racks as book shelves


Prints and frames from Ikea, fabric plushy trees and pompom flowers I made, wood log round from JoAnn's painted in chalkboard paint


December 9, 2013

Pine Cone Door Decor

The wreath I usually put on the door at Christmas time was lookin' pretty scary, so I made this for free!
 I stole some pine cones from my parents' yard, glittered them up with snow-looking glitter, hot glued them to various lengths of ribbon, then added a bow.  Such an easy alternative to a traditional wreath!

October 24, 2013

Goodly Parents Poster, New Colors

I wanted to change the colors of this poster I made to match our house and, while I was at it, played around with a few more color schemes and thought I'd share since I've gotten lots of positive feedback on the original post. I'm not great at coming up with color combos so if you have a suggestion, let me know!

Click the picture to go to the printable file:


March 13, 2013

Playroom Decoration


 Our house has a huge loft upstairs that we use as a playroom.  One of the walls is large and blank.  It probably seems bigger than it is because the toys are so short.  It leaves a lot of blank space above them.  I was trying to think of something fun, cheap, and easy to fill the space.  I also didn't want anything permanent, just in case I change my mind or need to rearrange the furniture someday.

I saw that Joann's had their embroidery hoops on sale for 40% off, so I loaded up all four kids and we picked out five different sizes.  I ended up getting 19 of them, but it's easy to customize it to fit any space.  Then we headed over to the fabric department.  I LOVE looking at fabric.  It always makes me want to redecorate everything in my house because there are so many cute patterns.  Unfortunately, like I said, I had all four kids with me, so I resorted to letting my girls pick out the pre-packaged fabric quarters.  The prints aren't as cute, but they had all the colors we needed to make our rainbow, and my girls had fun choosing their favorites.  We did three of each color, except purple and pink, we only did two.  I'm sure this would be an excellent way to use up a fabric stash as well.  My scraps were mostly black and white, so I just got all new ones.


I washed and ironed all of the fabric so that it was smooth.  I laid the embroidery hoops out on the floor in front of the wall so that I could get an idea of how I wanted the layout and to make sure it stretched all the way across the room.  Then I had my daughter Ruby help me lay the fabric over the inner hoop and tighten the outer hoop over it.  We just trimmed off the edges of the fabric and they were ready to hang!  I went super easy on the hanging and just used push pins instead of nails.  I get nervous putting holes in the walls!  But the hoops hung right on the pins and I made adjustments where I needed to.

I love how it turned out and so do my girls.  It makes the playroom look more put together and fun.


February 22, 2013

Family Tree Wall- Three Generations

I've had this project in mind for a long time, and finally got around to finishing!  I framed wedding pictures of Ray and I, our parents, and our grandparents. For some I didn't have an actual wedding pic, so I just used  couple pictures close to the time they were married.   I got the frames and letter "H" at Hobby Lobby, Michael's, and Home Goods.  They were all on sale, and they averaged about $6 each. I was going for a variety of colors and textures with the frames, but an overall cohesive look.  
The pictures were all printed in a sepia tone to pull them together. 


 Here is a before and after of the stairway.  I painted the hideous white railing, painted the wall a light yellow, and added the pictures.  I arranged them to follow the line of the stair rail, with my side of the family on one side of the "H", and Ray's side on the other. 
 I love that my kids can see their ancestors every time they go up and down the stairs!  

"Family faces are magic mirrors.  Looking at people who belong to us, we see the past, present, and future."  ~Gail Lumet Buckley

February 8, 2013

Oversized Cross Stitch


I made this over-sized cross stitch at a craft night with friends a while back.  All you need is a canvas, paint, embroidery thread, and a needle.  First, I painted the canvas a metallic copper color and let it dry.
 I then chose a cross stitch pattern I liked, enlarged it, and printed it. You may need to print it on several sheets of paper then tape them together, depending on the size.  I put the pattern on the canvas and used a pin to poke holes through the paper and canvas at each corner of the squares in the design (where each "x" would go).
Then, I used a brown embroidery thread and followed the pattern.  Just sew like you would a normal cross stitch, tying off the last stitch on the back of the canvas.The result is an inexpensive, unique piece of art!

January 25, 2013

Painted DIY Roman Shades: On a Budget

SOOOO, this is what happens when you rent a house full of mini-blinds AND share that house with a curious cat: 

Obviously, it got a little uncomfortable to live fully exposed to the neighbors so I needed a quick fix.  Beautiful, sturdy, wooden blinds would be my preferred solution but too costly for a rental. Instead, I found 1 pack of THESE curtains at Ikea (discounted at $14.99 which equals about $2.30/yard), 5 yards of muslin ($0.90/yard) at Dallas's CHEAPEST fabric store, and THIS awesome tutorial on pinterest. With the cost of the fabric glue, my end product: 5 Roman shade window treatments for about $5 each.

I got a bit ambitious on the first shade and decided to paint THIS print on it. I like to call the finished look "free-hand weathered" basically because I didn't know what I was doing. So if any of y'all have tips on how to paint fabric, feel free to share! Here is what I did:
 1. Print off desired shape and trace with a pencil or chalk the same color of the paint. (I used a pen the color of the fabric but it shows through the paint... bad idea)
 2. Lay fabric flat on cardboard since the paint will bleed through.
 3. Dilute the fabric paint just slightly with water (the more water you add, the more it will bleed) and paint over stenciled outline.
4. Let dry for a couple hours and then follow steps in Roman shades tutorial linked above.
Now, even when I forget to raise the blinds, Horatio can weasel his was under the fabric without ruining the fixture.
(randomly foggy day in Dallas)

January 7, 2013

Goodly Parents Poster

I really liked the talk "Becoming Goodly Parents" by L. Tom Perry since I'm new to the whole parenting thing and being bombarded with advice--some helpful, some not so much. His advice is some I actually want to follow, but knew I wouldn't remember it unless I had a visual reminder, so I put together this little poster (inspired by this design):

Feel free to download and print your own!

More colors HERE

September 29, 2012

Fabric Silhouette Tutorial

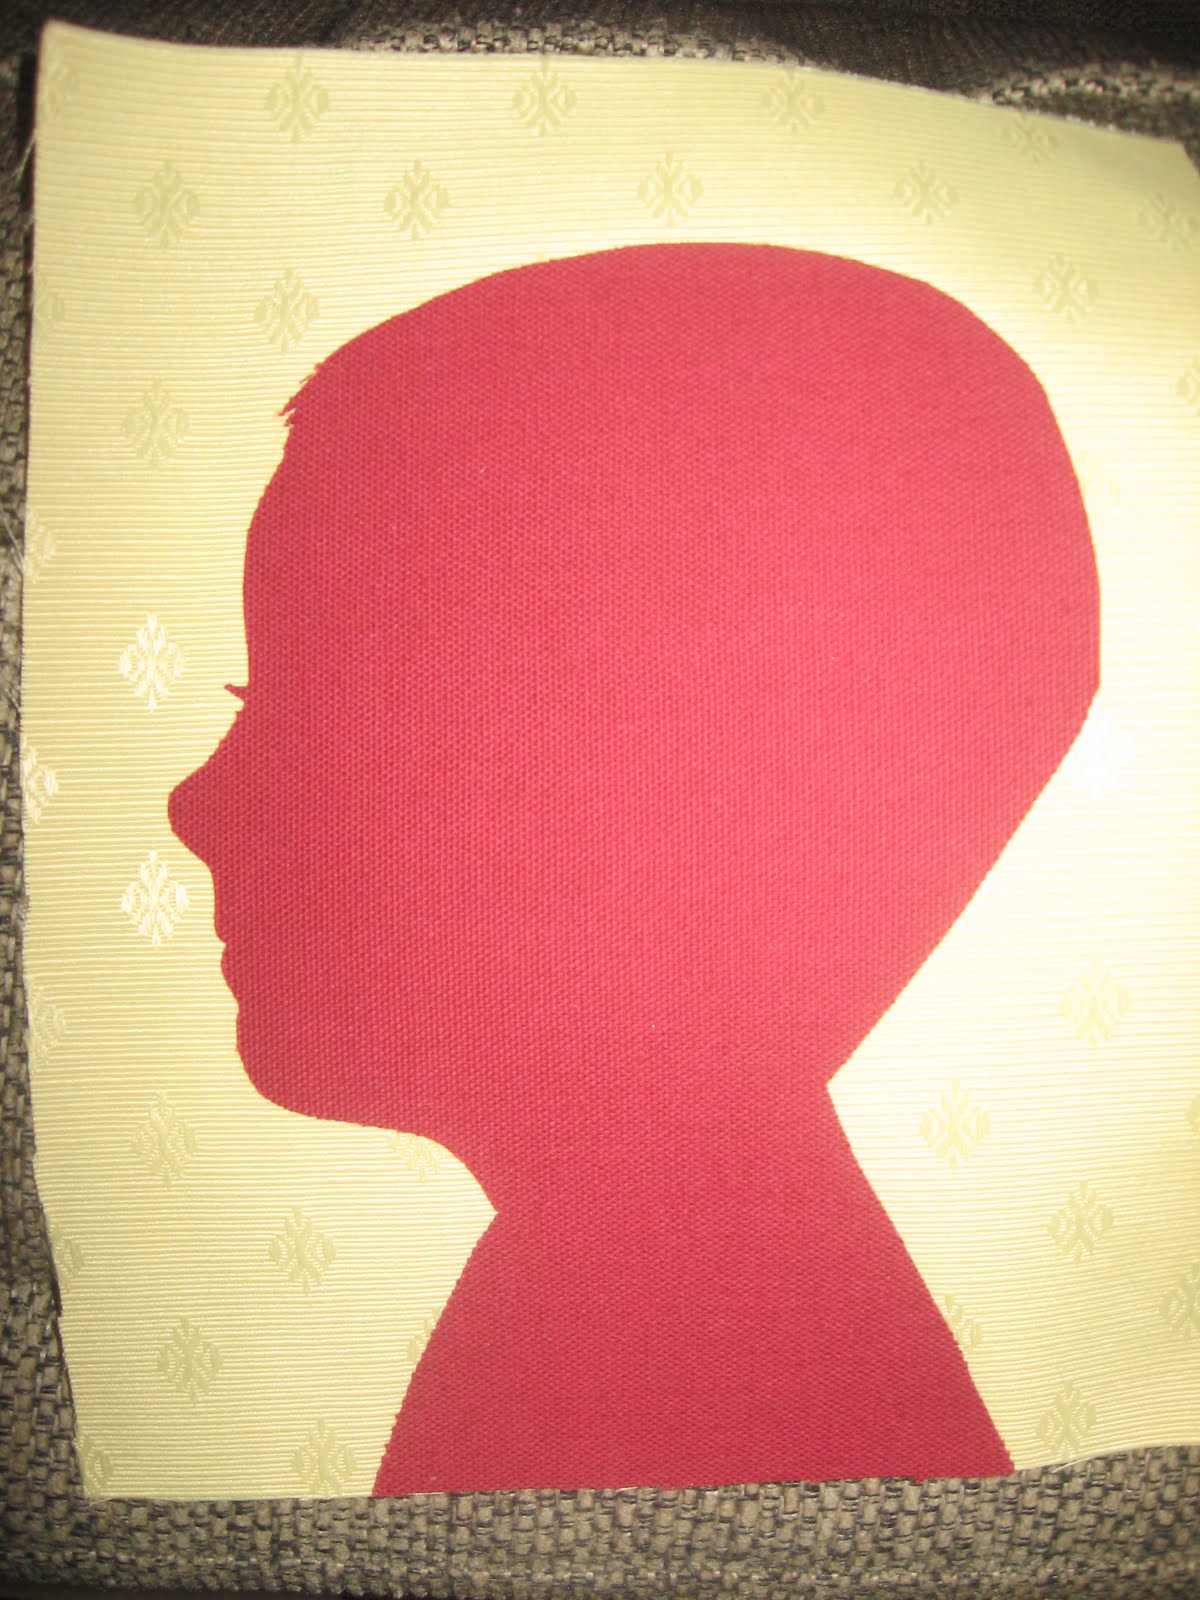
I made these silhouettes of the kids using a window frame I got at a garage sale. 
The window thing worked out really well since I have four children, one for each panel.

Here's how: 
 First take a profile picture, enlarge it to the size you want, and print it.  

Cut it out, then trace it onto the paper side of Heat n Bond ( You can find this at Wal Mart or any fabric store).

Iron that to the wrong side of your fabric.

Cut out the image.
Peel off the Heat n Bond paper and iron onto background fabric.  I used a solid for the boys and a patterned material for the girls.
Frame it.  I used spray adhesive to stick the fabric in each panel, then I hot glued trim around the edges.

I paid $1.50 for the window frame, and $2 for the trim.  
I had the other fabric and Heat n Bond already, so it was an inexpensive and fun project!

September 20, 2012

Monogram Pillows


For Christmas last year, my sister-in-law made us this gorgeous, scallopy, bedspread. I'm not really one to have 20 decorative pillows on my bed, but I wanted just a few simple ones that wouldn't distract/compete with the bedspread. So I found some pastel fabrics (ok the middle one ended up being more neon, but whatevs) and made one typical square pillow with aqua binding + 2 pale pink with our first initials on them.

Now, there are probably a million better ways of making these since I kinda just improvised and was wayyy too skimpy on the stuffing, but I still like the idea. Basically all I did was trace the letters onto my fabric before sewing and then filled them in with a fabric marker.


September 15, 2012

Party Ideas/Washi Tape Decor

I had to come up with some decorations for James' baptism lunch, so I decided to use the washi tape my friend gave me for my birthday.  Washi tape comes in various patterns and colors- so fun!  
I folded the tape in half all along some string, then cut points in the ends to create these banners.  I found free printable letters online, and taped those to the string as well. For the striped backdrop, I bought a yard of material, folded the edges under as I pinned it to the wall with push pins.  Today I used that same fabric to make a car seat canopy (2 birds with one stone).
We needed centerpieces for the tables, so I made these easy "8"s out of printable circles, a wooden skewer,
 and these styrofoam rounds, which were 2/$1 at Dollar Tree!
 I just wrapped washi tape around the styrofoam to dress it up a bit.  The width was perfect! There are so many free printables out there that could be used with this idea.
I also created some subway art with the baptism info, stuck it in a $1.50 frame from wall mart, and displayed it on the serving table.  Pic Monkey is a great site for this, because they have fun fonts and you can rotate the words, etc.